
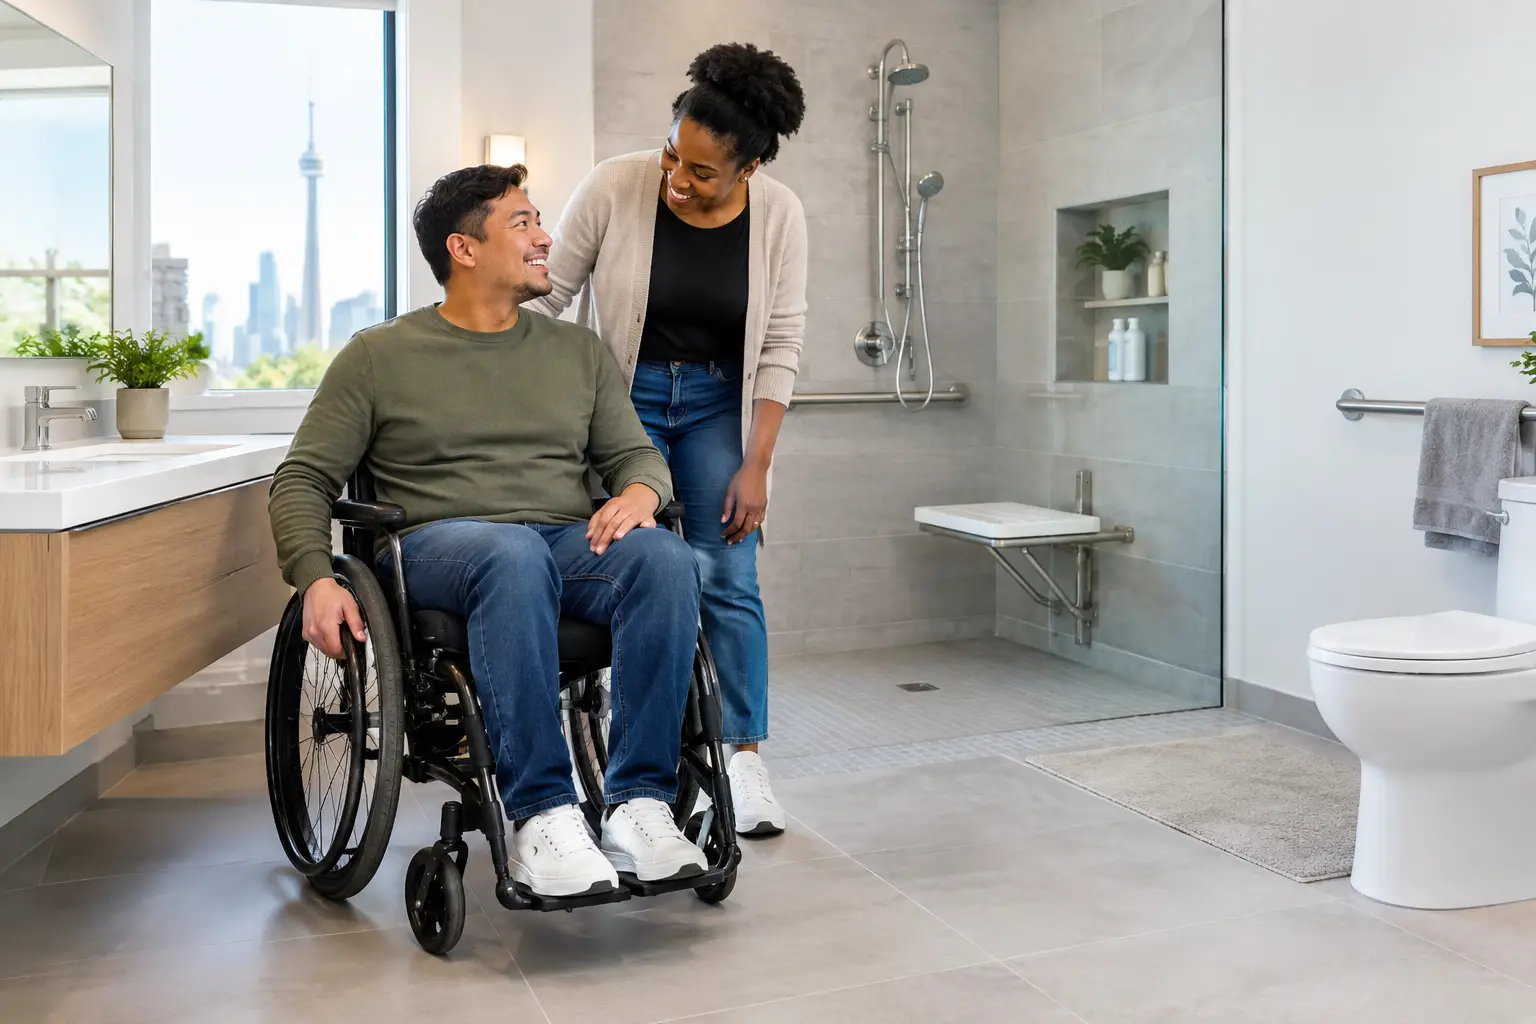
A bathroom can look refined and still create daily friction. A narrow entry, a tub wall that is difficult to step over, or a toilet with no room for assisted transfer can turn a routine space into a source of risk. This guide to accessible bathroom design focuses on the decisions that make the greatest difference: layout, safe movement, fixture selection, and a renovation plan that coordinates every trade from demolition through final walkthrough.
Accessible design is not a single style or a checklist of medical-looking products. It is a practical way to make the room easier and safer to use for people with changing mobility, temporary injuries, young children, aging parents, or guests. The strongest results balance current needs with the flexibility to remain in the home comfortably over time.
Start With How the Bathroom Will Actually Be Used
Before selecting tile or fixtures, define who uses the space and where the current room creates obstacles. A main-floor powder room may need better circulation and a more usable sink. A primary bathroom may need a curbless shower, seating, and room for a caregiver. A bathroom intended for an aging family member may need a layout that supports a walker today while allowing for future grab bars or other assistance.
This assessment should be specific. Consider whether the user needs to turn, sit, transfer, reach controls, or manage the room while carrying mobility equipment. Also consider the route to the bathroom. An accessible bathroom provides limited value if a narrow hallway, raised floor transition, or bedroom door prevents someone from reaching it.
A good renovation plan documents those needs before walls are opened. That gives the project team clear direction on framing changes, plumbing locations, electrical requirements, ventilation, finish transitions, and fixture lead times. It also avoids a common and expensive mistake: discovering after tile installation that a selected vanity blocks the clearance needed at the toilet or shower.
Build the Layout Around Clear Movement
Clear floor space is the foundation of accessible bathroom design. The room needs enough open area to approach the toilet, sink, and shower without awkward turns or blocked doors. The exact dimensions depend on the person, the mobility device, the fixture configuration, and applicable local requirements, so there is no responsible one-size-fits-all layout.
Door placement deserves early attention. A wider doorway can improve access immediately, while a pocket door or an outward-swinging door may preserve valuable floor space in a compact bathroom. The trade-off is that pocket doors require sufficient wall cavity and can conflict with plumbing, electrical work, or structural framing. An outward-swinging door must also be positioned so it does not obstruct a hall or another door.
Keep the path between fixtures direct. Avoid placing a vanity where it narrows the approach to the toilet, and do not treat an empty corner as usable clearance if a door will swing across it. During planning, it helps to map the room at full scale and test turning space, shower entry, and transfer zones before finalizing the layout.
Plan the Toilet Area for Stability and Transfer
The toilet area needs room on at least one side when assisted transfers are part of the plan. A comfort-height toilet can reduce the distance required to sit and stand, though the best height varies by user. Taller is not automatically better for every person, especially for shorter users or children.
Reinforcing the walls around the toilet during framing is a disciplined, low-cost decision that protects future options. Proper blocking allows grab bars to be securely installed where they are needed later, even if the client does not want visible bars now. Grab bars should be anchored to solid framing, not treated as an accessory that can be attached to finished drywall without verification.
Make the Shower the Safest Part of the Room
For many households, the shower is the highest-risk area. A low-threshold or curbless shower removes the need to step over a tub wall and can make entry easier for a person using a walker or shower chair. It also creates a cleaner visual line, which is why it works well in both contemporary and traditional bathroom designs.
However, a curbless shower is not simply a matter of removing the curb. The floor must be properly sloped to the drain, waterproofed as a complete system, and coordinated with the existing subfloor and drain location. In some homes, the required slope or drain work affects the framing below. That is where managed execution matters: plumbing, framing, waterproofing, tile installation, and glass selection must be sequenced as one coordinated scope.
Choose flooring with slip resistance, particularly in wet zones. Small-format tile can provide more grout lines for traction, while larger tile may offer a quieter, more continuous appearance. Neither option is universally right. The selection should account for cleaning, drainage, bare-foot traction, and the visual contrast needed to distinguish the shower edge from the surrounding floor.
A built-in or securely mounted fold-down seat can improve comfort and reduce fall risk. Handheld shower controls, reachable shelves, and valves placed where they can be accessed before stepping into the spray make the shower more functional without making it feel institutional.
Choose Fixtures That Reduce Strain
A wall-mounted or open-base vanity can provide knee clearance for a seated user, but it may offer less enclosed storage than a cabinet vanity. If storage is essential, consider drawers with easy-pull hardware and organize frequently used items within easy reach. The goal is to reduce bending, stretching, and the need to balance while reaching into a deep cabinet.
Lever handles are generally easier to operate than small round knobs, particularly for users with limited grip strength. The same principle applies to faucet controls, shower valves, towel hardware, and lighting switches. Thermostatic or pressure-balancing shower controls can also help reduce sudden temperature changes.
Lighting should be layered rather than concentrated in one overhead fixture. Bright, even illumination at the vanity supports grooming, while well-positioned general lighting reduces shadows on the floor. Night lighting can make a significant difference for households that use the bathroom after dark. Select switch locations that are easy to reach and make sure outlets, fans, and lighting are planned before drywall closes the walls.
Use Contrast and Storage to Improve Everyday Safety
Accessibility is not only about physical clearance. Visual clarity helps users identify edges, controls, and changes in surface. A toilet that contrasts moderately with the wall, a vanity top that is distinct from the floor, and clearly visible faucet controls can all improve usability. High-gloss surfaces and extreme patterns, on the other hand, may create glare or visual confusion.
Storage should support the routine, not fight it. Place towels, toiletries, and cleaning supplies where they can be reached without climbing, kneeling, or carrying items across a wet floor. Recessed shower niches need to be positioned for the actual user, not just centered for appearance. If multiple generations use the room, a combination of reachable daily storage and higher secondary storage often works best.
Treat Accessibility as a Construction Plan, Not a Product List
A successful accessible bathroom renovation requires more than ordering the right fixtures. It depends on verified measurements, coordinated rough-ins, proper substrate preparation, and quality control at each stage. Waterproofing details, floor elevations, electrical placement, ventilation capacity, and wall reinforcement are largely hidden once the room is finished. They are also the details that determine whether the bathroom performs safely over time.
For Toronto and Scarborough homeowners, building requirements, condo rules, plumbing changes, and permit needs can affect both the scope and schedule. A qualified contractor should identify these items early, provide clear direction on what must be reviewed, and coordinate the trades rather than leaving the homeowner to resolve conflicts between separate installers.
TopTier Reno approaches bathroom work with that level of structured oversight. The objective is not just a finished room that photographs well. It is a properly managed renovation where the layout, materials, trades, and final details support the way the household lives.
The best time to plan for accessibility is before a crisis forces the decision. Even modest improvements, such as wider access, reinforced walls, better lighting, and a safer shower entry, can protect independence while preserving the comfort and character that make a home feel personal.
