
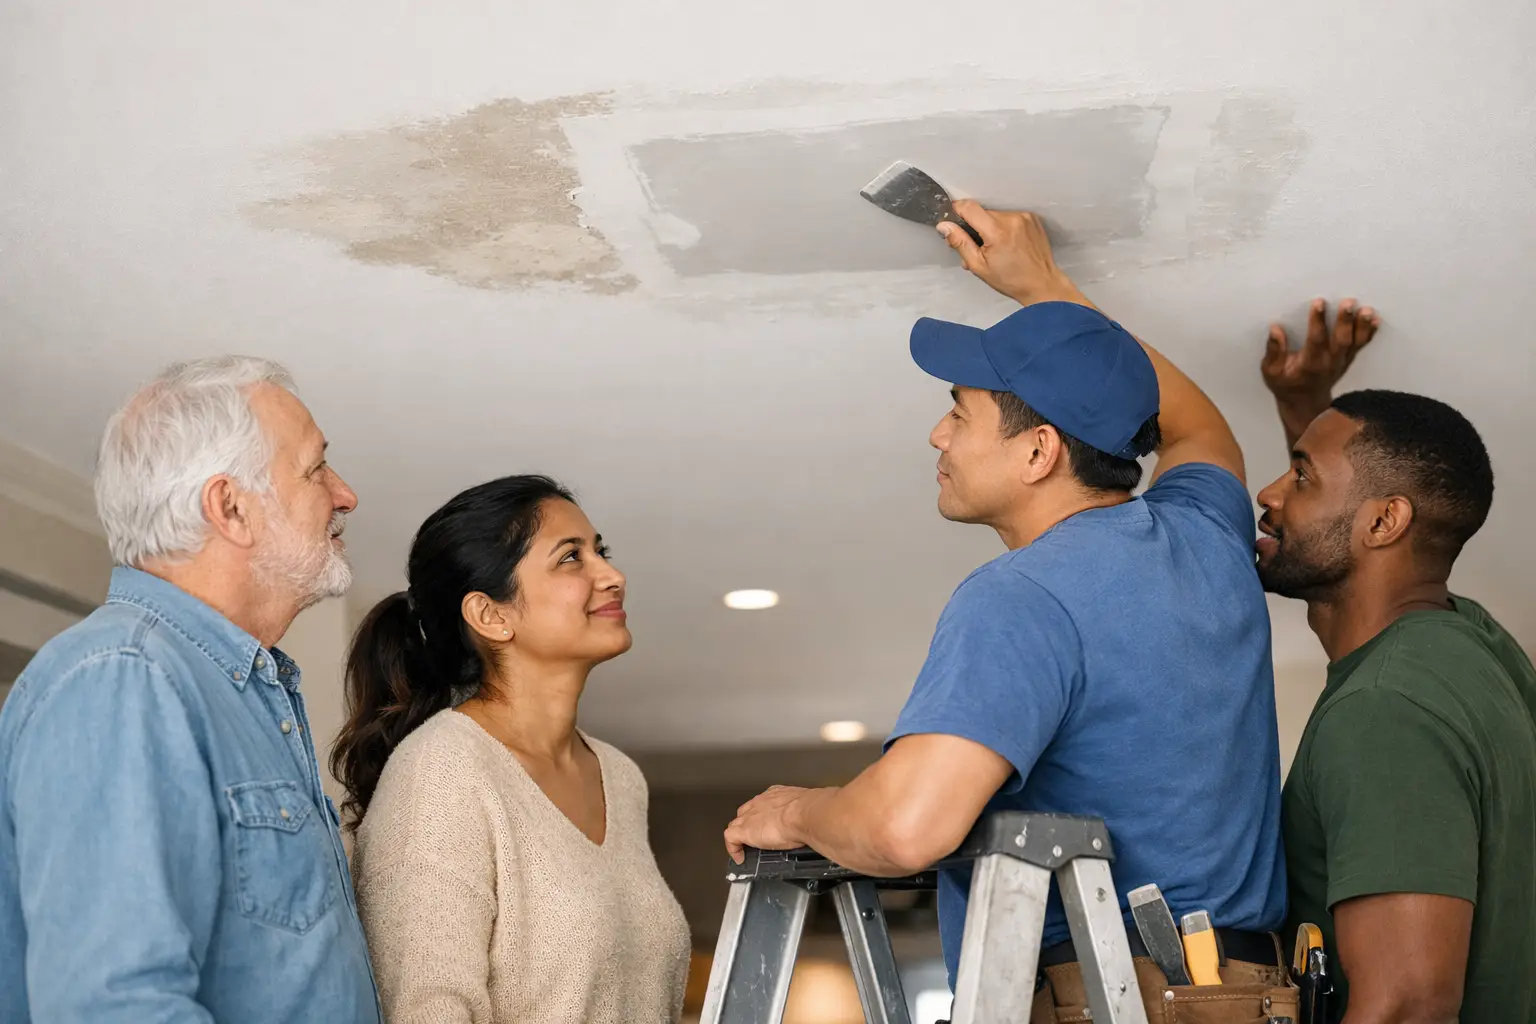
A water stain on the ceiling or a soft spot in the wall is rarely just a painting problem. Drywall repair after a leak starts with controlling the water and confirming the affected area is actually dry. Repainting or patching too early can trap moisture inside the assembly, allowing stains, odors, mold, and structural deterioration to return after the visible repair looks finished.
For a lasting result, the work needs to follow the right order: stop the source, assess the damage, dry the building materials, remove what cannot be saved, and rebuild with clean transitions between trades. This is where a managed process matters. A wall can look restored in a day, but a proper repair protects the room long after the crew leaves.
First, Stop the Leak and Protect the Area
The repair should not begin until the source of water has been identified. A leaking supply line, drain connection, roof penetration, window opening, appliance hose, or failed shower waterproofing may create similar-looking drywall damage, but each requires a different corrective trade. If the source remains uncertain, cutting out drywall simply gives water another path to travel.
Turn off water to the affected fixture or area if appropriate, move furniture away from the wall, and protect flooring from drips and debris. If water has reached electrical outlets, switches, recessed lights, or a panel, treat it as an electrical safety concern. Do not remove wet drywall around energized components without qualified assessment.
Document the damage before demolition. Clear photos of the leak source, affected finishes, and damaged contents can be useful for insurance reporting and for establishing the original scope of work. Documentation also helps prevent a common problem in restoration projects: repairing the visible ceiling stain while overlooking the wet cavity above it.
Drywall Repair After a Leak Begins With Drying
Drywall is made to create a smooth finished surface, not to tolerate prolonged water exposure. When it gets wet, its gypsum core can weaken and its paper facing can separate, wrinkle, or support microbial growth. Whether it can be saved depends on the water source, the length of exposure, how saturated it became, and whether drying can be verified.
Clean water from a recently discovered supply-line leak may allow limited drying and repair if the drywall is still firm and undamaged. Water from a toilet overflow, sewage backup, or other contaminated source should be handled more cautiously. Porous materials exposed to contaminated water often need removal rather than drying in place.
Professional drying is more deliberate than opening a window and running a household fan. The affected area may need controlled airflow, dehumidification, and moisture measurements in drywall, framing, subflooring, and insulation. The goal is not only to make the surface feel dry. It is to confirm that the materials inside the wall or ceiling cavity have returned to an acceptable moisture condition.
Drying time varies. A small, clean leak caught quickly may be ready for repair within a few days. A concealed plumbing failure or roof leak that has traveled through insulation, framing, and multiple rooms can require a much broader drying and removal plan. Rushing this stage usually creates the expensive version of the same problem later.
How to Tell Whether Drywall Must Be Removed
Some water-damaged drywall can be repaired locally. Other sections need to come out to expose wet insulation, allow airflow, or remove compromised material. The decision should be based on condition, not on how small the stain appears.
Removal is typically warranted when drywall is soft, swollen, crumbling, bowed, or visibly delaminated. It should also be considered when the paper facing has remained wet, when there is a musty odor, or when the wall cavity contains wet insulation. Ceiling drywall deserves special attention because saturation can cause it to sag or detach unexpectedly.
A practical assessment should look beyond the obvious mark. Water follows gravity, framing, wiring paths, and the backs of finishes. A stain near a bathroom ceiling may have originated several feet away at a shower drain or supply fitting. Likewise, a wet baseboard can mean moisture has traveled behind the wall and into flooring materials.
When removal is necessary, crews often make a clean, controlled cut above the visibly damaged zone rather than tearing out irregular pieces. This creates a solid edge for the new drywall and exposes enough of the cavity for inspection and drying. The exact cut line depends on moisture readings, framing locations, electrical components, and the condition of adjacent material.
Inspect the Cavity Before Closing It Back Up
Opening a wall provides an opportunity that should not be wasted. Before new drywall is installed, the cavity should be inspected for wet insulation, mold-like growth, damaged framing, loose plumbing connections, deteriorated caulking, and electrical concerns. If a plumbing repair has been made behind the wall, it is also the right time to test the line and confirm there is no continued seepage.
Framing often dries successfully after a clean-water leak, but it still needs time and verification. Rebuilding over damp wood can lock moisture into the assembly. Where insulation has absorbed significant water, replacement is frequently the more reliable option. It cannot always be dried thoroughly in place, and wet insulation loses performance while holding moisture against surrounding materials.
This stage also allows for sensible upgrades. Access may make it easier to add pipe insulation, correct a poorly supported drain line, install blocking for future accessories, or address an air leak around a window opening. These decisions should be scoped carefully. Not every opened wall needs an upgrade, but ignoring a clear underlying defect is false economy.
Rebuilding the Wall or Ceiling in the Right Sequence
Once the cavity is clean, dry, and repaired, reconstruction can begin. The usual sequence is insulation replacement where needed, drywall installation, taping, joint compound, sanding, primer, paint, and reinstallation of trim or fixtures. If flooring, cabinetry, tile, or electrical devices were affected, their work must be coordinated around these stages.
Matching new drywall to existing surfaces requires more than fitting a piece into the opening. The board needs proper fastening to solid framing, correctly finished joints, and a texture level that blends with the surrounding room. On ceilings, the repair must account for lighting, texture, and sightlines. A poorly feathered patch can remain visible even after several coats of paint.
Primer is especially important after water damage. A quality stain-blocking primer helps prevent old discoloration from bleeding through the finish coat. However, primer is not a cure for damp drywall or hidden contamination. It belongs at the end of a verified repair process, not at the beginning.
Paint matching can be another trade-off. Touching up one repaired section may work if the existing paint is recent and stored for reference. In rooms with aged paint, sun exposure, or previous touch-ups, repainting the full wall or ceiling plane often produces a more consistent result. A disciplined scope should identify this before work begins so the final appearance and budget are aligned.
Avoid These Common Repair Shortcuts
The most frequent failure is patching before drying is complete. The next is treating every water stain as a drywall-only issue. Both approaches focus on the symptom while leaving the cause or moisture pathway unaddressed.
Be cautious if a proposed repair skips these four controls:
- Confirming and correcting the leak source before closing the area
- Checking moisture levels in materials beyond the visible stain
- Removing compromised drywall or insulation when drying is not realistic
- Testing plumbing, electrical, and affected finishes before final restoration
Another shortcut is allowing multiple trades to work without a defined sequence. A plumber may complete the source repair, but drywall should not be closed until the space is dry and inspected. Painters should not be scheduled before the patch has cured and been properly primed. Organized handoffs reduce rework, protect finishes, and keep a small leak from turning into a drawn-out renovation problem.
When to Bring in a Managed Restoration Team
A minor, clean-water leak with no soft drywall, no insulation involvement, and no electrical exposure may be manageable as a contained repair. The situation changes when water has reached a ceiling cavity, traveled between floors, affected a bathroom assembly, damaged flooring, or created uncertainty about mold or contamination.
Complex cases benefit from one accountable team that can coordinate leak correction, drying, selective demolition, drywall, painting, and finish restoration. For homeowners already balancing family routines, insurance conversations, and an interrupted room, that structure reduces the risk of missed steps between separate contractors.
TopTier Reno Enterprises approaches water-damage reconstruction as a sequence of verified decisions, not a cosmetic patch. The right repair restores the surface, but more importantly, it gives you confidence that the wall behind it is dry, sound, and ready to stay that way.
