
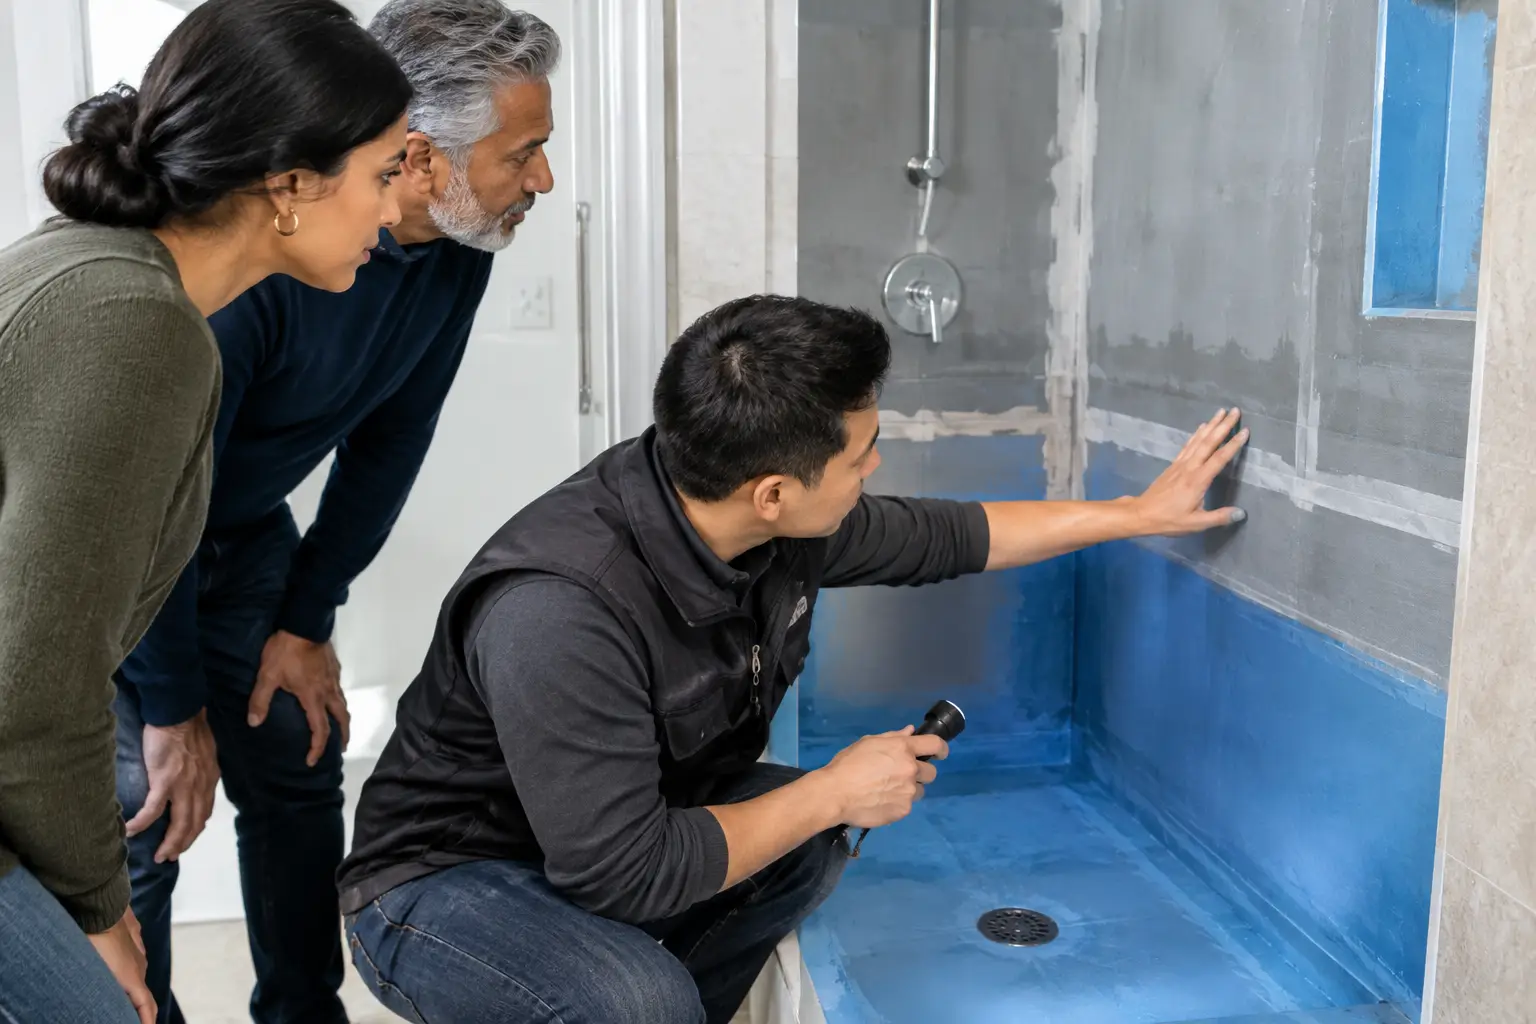
A shower can look finished and still be built to fail. Tile, grout, and caulk are not the waterproof layer. If you want to know how to inspect shower waterproofing, the right time is before the walls are covered and before the floor tile hides the drain assembly. This is the stage where careful oversight prevents concealed leaks, mold, damaged framing, and an expensive bathroom tear-out.
For a substantial bathroom renovation, waterproofing should be treated as a documented construction checkpoint, not a quick visual glance. The materials matter, but sequencing, drain integration, corner treatment, and testing matter just as much.
Start With the Right Expectation
A properly built shower uses a continuous waterproofing system behind or directly below the tile surface. Depending on the shower design, that system may include a sheet membrane, a liquid-applied membrane, a preformed shower pan system, or a traditional liner and mortar-bed assembly. Each approach can perform well when installed as a complete, compatible system.
The key word is complete. Problems often begin when components from different systems are improvised together, penetrations are not sealed correctly, or the waterproofing layer stops short of an edge or transition. A clean-looking tile installation cannot correct those hidden errors later.
Before the inspection, ask the contractor to identify the waterproofing system being used and confirm where the water-resistive layer is located. You should also know whether the shower includes a recessed niche, bench, curb, linear drain, glass enclosure, or steam-shower features. These details affect how the waterproofing must be carried and sealed.
Inspect the Shower Pan and Drain First
The shower floor is where water is intentionally directed every day, so its drainage and waterproofing details deserve close attention. Before tile is installed, look at the slope from every point on the shower floor toward the drain. Water should not need to travel uphill, sit at the perimeter, or collect in a low area near the curb.
A practical check is to place a straightedge across several areas of the floor. The surface should consistently fall toward the drain without obvious dips. A linear drain requires especially careful planning because the floor usually slopes in one direction. The finished drain height, tile thickness, and floor slope all need to work together.
The drain connection is equally critical. The membrane must be integrated with a drain assembly designed for that specific waterproofing method. There should be no loose edges, open gaps, or visible areas where the membrane simply ends at the drain without a sealed connection.
For traditional liner systems, the liner needs to rise adequately at the walls and curb, while the assembly below it must still direct moisture toward the drain. For surface-applied systems, the waterproofing membrane should connect continuously to the drain flange. The details differ, but the objective is the same: any water that reaches the waterproofing layer must be directed into the drain, not into the framing.
Check Wall Coverage, Seams, and Corners
Shower walls should have a clear, uninterrupted waterproofing strategy from the shower base upward. In most standard showers, the waterproofing should extend at least through the full wet area, including the corners and the locations where fixed glass will later be mounted. The exact height can depend on the shower design and local requirements, but stopping the membrane at a random line behind the tile is a concern.
Pay close attention to seams. Sheet membranes need proper overlap or approved banding at every joint. Liquid membranes need the required thickness and full coverage, without thin, patchy, or pinholed areas. If the product is liquid-applied, ask how thickness was verified. A membrane that looks painted on may not meet the manufacturer’s required dry-film thickness.
Corners are a common failure point because walls, floors, and curbs move slightly over time. Internal corners, outside curb corners, and wall-to-floor transitions should have reinforcement or manufacturer-approved preformed components. You should not see exposed board joints, unsealed fabric edges, or gaps at these transitions.
Inspect Niches, Benches, and Ledges Closely
A recessed shower niche is useful, but it creates multiple corners and horizontal surfaces that must shed water. The bottom of the niche should slope outward slightly so water does not sit against the back wall. Its corners and seams should be fully waterproofed before tile is installed.
Benches, half walls, and ledges require the same discipline. Every horizontal surface should slope toward the shower interior. Waterproofing must wrap continuously over the top, front, sides, and transitions. A bench that is level or slopes toward a wall can hold water against hidden materials for years.
Examine the Curb and Shower Entry
The curb separates the shower floor from the bathroom floor, but it must not interrupt the waterproofing system. Inspect the membrane over the top of the curb and down both sides. The inside face and top should be protected continuously, with properly sealed outside corners.
Avoid unnecessary fasteners through the top or inside face of the curb. A screw or nail in the wrong location can puncture the waterproofing layer exactly where water exposure is most frequent. Glass hardware creates another consideration. Its final mounting method should be planned before tile, so the installer does not later drill into vulnerable areas without appropriate sealing.
For curbless showers, the inspection should focus on the transition to the bathroom floor. The shower area must be shaped and waterproofed to contain routine shower water while maintaining the planned entry height and drainage. This detail depends heavily on the existing framing, subfloor, and finished floor elevations, which is why it should be resolved during planning rather than adjusted at the end.
Confirm That Penetrations Are Sealed
Every plumbing opening is a potential leak path. Check around the mixing valve, shower arm, body sprays, handheld outlets, and any other penetrations through the wall. The waterproofing system should include compatible seals, gaskets, or carefully detailed membrane patches at these openings.
Do not assume that a trim plate will protect the wall cavity. Trim plates are finish components, not waterproofing. The same principle applies to future accessories. If grab bars, glass panels, or shelves require blocking, the locations should be coordinated before wall closure so the waterproofing can remain intact.
Require a Flood Test Before Tile
A flood test is one of the clearest ways to inspect shower waterproofing at the pan level. Before tile is installed, the drain is temporarily plugged below the drain’s waterproof connection, and the shower base is filled with water to a marked level. The water level is then observed over a defined test period, often 24 hours, subject to the applicable local inspection requirements and the specific shower system.
The test should be documented with photos showing the water line at the start and end. If the level drops, first rule out evaporation, an improperly fitted test plug, or water escaping outside the pan. Then investigate the assembly before any finish work continues. A failed flood test is not a minor issue to cover up with more mortar or sealant.
Where permitted and appropriate, a professional may also test wall areas or verify membrane continuity through visual inspection and manufacturer-required procedures. The proper test depends on the system, but the principle does not change: test the waterproofing before it becomes inaccessible.
Ask for Documentation, Not Just Reassurance
Homeowners do not need to manage every trade detail, but they should receive clear confirmation at critical stages. Before tile begins, request progress photos of the shower pan, wall membrane, corners, niche, bench, curb, and drain connection. Keep records of the waterproofing product used, the flood-test result, and any required inspection approval.
This documentation creates accountability and helps if future service work is ever needed. It also confirms that tile installation is beginning over a verified substrate rather than an uninspected one.
A managed renovation process should schedule this checkpoint deliberately. At TopTier Reno, waterproofing inspection is treated as part of coordinated bathroom execution, with trade sequencing and quality control addressed before finish materials conceal the work.
Warning Signs That Should Pause the Job
Pause and request clarification if you see exposed drywall in a shower wet area, open seams at corners, a membrane that does not connect cleanly to the drain, a flat niche bottom, punctures through the curb, or a shower floor without clear slope to the drain. These are not cosmetic details. They affect whether the shower can manage water over the long term.
Also be cautious if the plan relies heavily on grout, caulk, or tile adhesive as the water barrier. Grout and caulk need maintenance and can crack or deteriorate. The waterproofing system behind the finish is what protects the structure.
A well-built shower is not proven by how it looks on the day tile is installed. It is proven by the hidden work that directs water to the drain, protects every transition, and has been checked before the walls and floor are closed for good.
