
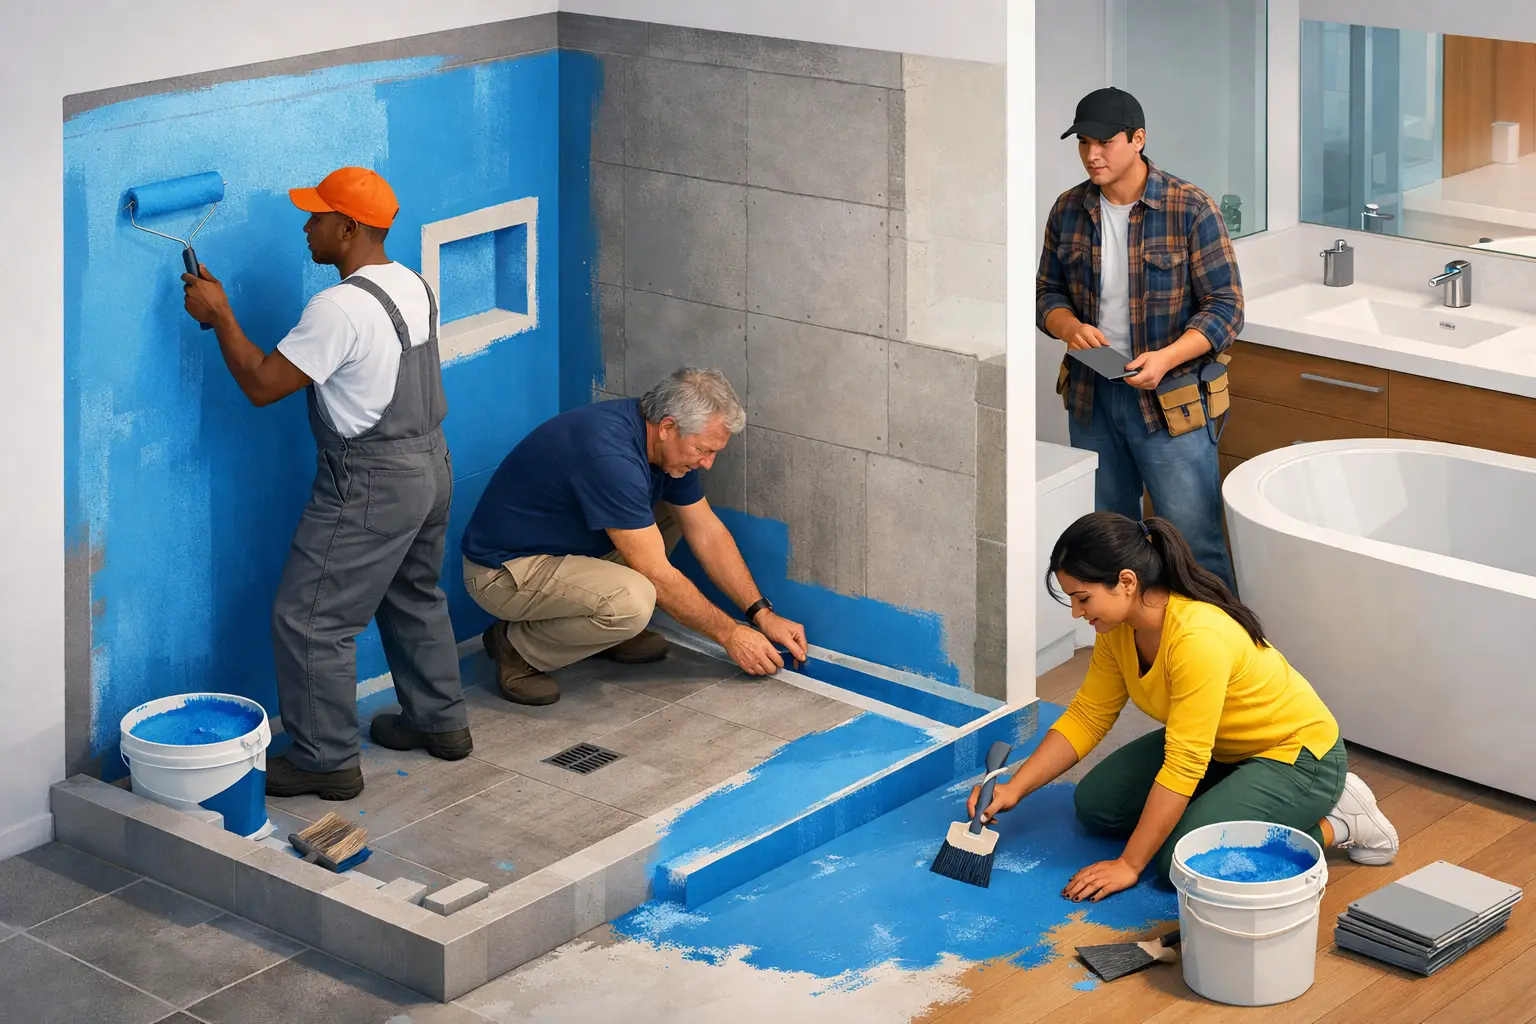
A bathroom can look finished the day the tile is installed and still be headed for an expensive failure. The risk is usually hidden behind the walls: water reaching drywall, subflooring, framing, or an unsealed plumbing penetration. Waterproofing before bathroom tile is the stage that protects the work no one will see once the room is complete.
For a shower renovation, tile is a finish surface, not a waterproof barrier. Grout is porous, natural stone can absorb moisture, and even well-maintained caulk has a service life. A properly managed bathroom renovation treats waterproofing as a defined construction phase with the right materials, correct sequencing, and inspection before tile covers the assembly.
Why Waterproofing Before Bathroom Tile Cannot Be Skipped
Bathrooms experience repeated moisture exposure, but showers carry the highest risk. Water can enter at wall corners, the floor-to-wall transition, curb edges, niches, benches, valve openings, and drain connections. If the waterproofing system is incomplete at any of these points, moisture can move behind the finish and remain trapped.
That does not always create an immediate visible leak. In many cases, the first signs appear months later: loose tile, soft baseboards outside the bathroom, staining on a ceiling below, a persistent musty odor, or deteriorating grout lines. By then, correcting the issue may require removing tile, backer board, and damaged framing rather than making a simple surface repair.
The cost difference between doing this stage correctly and repairing a failed shower is substantial. More importantly, proper waterproofing protects the schedule. Rebuilding a shower after tile is installed can disrupt adjacent finishes, plumbing access, and the planned handoff of the space.
Tile, Grout, and Caulk Have Different Jobs
A reliable bathroom assembly depends on separating finish materials from water-management materials. Tile provides a durable, cleanable surface. Grout fills and supports the joints between tiles. Caulk creates flexible movement joints where planes meet, such as wall corners or where a tiled wall meets a tub deck.
None of these replaces the waterproofing membrane behind or beneath the tile. The membrane is the continuous layer designed to direct water back toward the drain or keep it from reaching vulnerable building materials. When a renovation scope treats grout sealer as the primary moisture defense, it is solving the wrong problem.
Sealers can be useful for stain resistance and routine maintenance, particularly with certain natural stones or cement-based grout. They should not be presented as a substitute for a correctly installed shower waterproofing system.
Where a Bathroom Needs Waterproofing
The level of waterproofing depends on the room layout and how each area will be used. A fully enclosed shower requires the most detailed approach. The shower walls, floor, curb, drain connection, corners, niches, benches, and penetrations need to work as one continuous system.
A tub surround also requires waterproofing behind the tiled walls, especially around the showerhead end and at the tub flange. In a bathroom with a freestanding tub and no shower spray, the immediate wall area may not require the same full enclosure system. However, floors and surrounding finishes still need careful planning for spills, wet feet, and cleaning.
Wet-room designs require another level of coordination. When the room floor itself is intended to receive water, waterproofing needs to extend across the designated wet area and tie correctly into a properly sloped floor and drain. These details should be resolved before demolition is complete, not improvised after tile selections are made.
Shower Niches, Benches, and Curbs Need Extra Attention
Built-in features are useful, but every feature adds corners, joints, and transitions. A recessed niche must be waterproofed on all sides, with a slope at the bottom so water does not sit against the back wall. A shower bench needs a slight slope toward the drain for the same reason.
Curbs are another common failure point. Fasteners driven through the top or inside face of a curb can compromise the waterproofing layer. The correct method depends on the selected system, but the principle is consistent: preserve the continuity of the membrane and direct water inward toward the shower floor.
The Proper Sequence Before Tile Installation
Good results come from disciplined sequencing. Installing tile too early can conceal issues that should have been corrected while the assembly was still accessible. A managed renovation keeps plumbing, framing, substrate preparation, waterproofing, testing, and tile work coordinated rather than treating them as separate tasks.
1. Confirm the Layout, Plumbing, and Framing
Before waterproofing begins, the team should confirm the shower footprint, drain location, wall layout, fixture locations, and any built-in features. Framing must be straight, adequately supported, and suitable for the wall assembly. Out-of-plumb walls and uneven framing can create tile problems later, but they can also make membrane installation less reliable at corners and transitions.
Plumbing rough-ins should be completed and checked before walls are closed. This includes the shower valve, head, body sprays if included, and drain assembly. Moving a valve or changing a drain after waterproofing has been installed creates avoidable rework and raises the risk of puncturing the system.
2. Prepare a Stable Substrate
The waterproofing membrane needs a suitable base. Depending on the system, this may be cement board, a compatible foam backer board, a mortar bed, or another approved substrate. Standard drywall is generally not the right base for a conventional tiled shower, particularly in areas exposed to direct water.
The installer should follow the selected system’s requirements for fasteners, seams, joint treatment, and surface preparation. Mixing products without confirming compatibility can create weak points. A liquid membrane, sheet membrane, drain flange, sealant, and backer board may each have specific installation requirements that need to work together.
3. Build Slope Into the Shower Floor
Waterproofing is only effective when water has a path to the drain. The shower floor must be properly sloped before the tile is set. A flat floor can allow water to pond, while poor slope at the perimeter or bench can leave moisture sitting where it should be draining.
This is especially important with large-format tile. Larger tiles can look clean and modern, but they may not conform easily to the compound slopes around a center drain. The design, drain style, tile size, and layout should be reviewed together. In some showers, a linear drain or smaller mosaic floor tile is the better practical choice.
4. Install a Continuous Waterproofing System
The membrane must cover the intended wet area without gaps. Sheet membranes require properly overlapped or sealed seams. Liquid-applied membranes require the correct coverage and dry-film thickness, often applied in multiple coats. Corners, seams, pipe penetrations, and transitions need compatible reinforcing components or sealants as specified by the system.
This is not the stage for shortcuts. A membrane that stops short of a curb, misses the lower wall transition, or is cut loosely around a valve may not perform as intended. Clean, deliberate installation matters more than the brand name on the packaging.
5. Test Before Tile Covers the Work
For a shower pan, a flood test is one of the most valuable quality-control steps. The drain is temporarily plugged, the shower base is filled to an appropriate level, and the assembly is monitored for water loss or signs of leakage before tile is installed. Local requirements and project conditions determine the exact process, but the underlying discipline is simple: test the waterproofed area while problems can still be corrected directly.
Walls, niches, and penetrations should also receive a visual inspection. The project manager and installer should verify that seams are sealed, corners are complete, and no subsequent trade has damaged the membrane. Clear accountability at this point prevents assumptions from becoming hidden defects.
Common Shortcuts That Create Expensive Repairs
The most damaging waterproofing mistakes are often small and easy to hide. Applying membrane over an unsuitable or poorly prepared substrate can lead to bond failure. Using the wrong drain connection can interrupt the waterproof path at the point where water must exit. Leaving fastener holes or unsealed corners can create direct routes into the wall cavity.
Another frequent issue is relying on a patchwork of materials without a clear system. A project may combine a shower pan from one approach, wall waterproofing from another, and incompatible sealants at transitions. It can sometimes work, but it requires documented compatibility and skilled installation. For most renovations, using a complete, approved system is easier to inspect and easier to stand behind.
Schedule pressure also causes problems. Waterproofing products need proper cure times before testing or tile installation. Rushing that process may affect adhesion or membrane performance. A reliable contractor builds those cure windows into the schedule rather than treating them as lost time.
What Homeowners Should Expect From a Managed Bathroom Scope
A professional bathroom scope should identify who is responsible for substrate preparation, waterproofing, plumbing coordination, shower pan construction, testing, and tile installation. Those responsibilities should not be left unclear between separate trades.
Ask how the shower will be waterproofed, where the membrane will extend, how the drain will integrate with the system, and whether the shower pan will be tested before tile. You do not need to manage the technical installation yourself, but you should receive clear direction on the plan and the checkpoints.
For homeowners in Scarborough and Toronto, older homes can add variables such as uneven framing, previous water damage, outdated plumbing, or floors that need reinforcement before a tile shower is built. Addressing those conditions early keeps the waterproofing stage from becoming a rushed correction later.
At TopTier Reno, structured oversight means the waterproofing phase is treated as a critical handoff between rough construction and finish work, not as an invisible detail to be rushed through. The best time to protect a bathroom from water damage is when the walls are open, the drain is accessible, and every layer can still be verified.
