
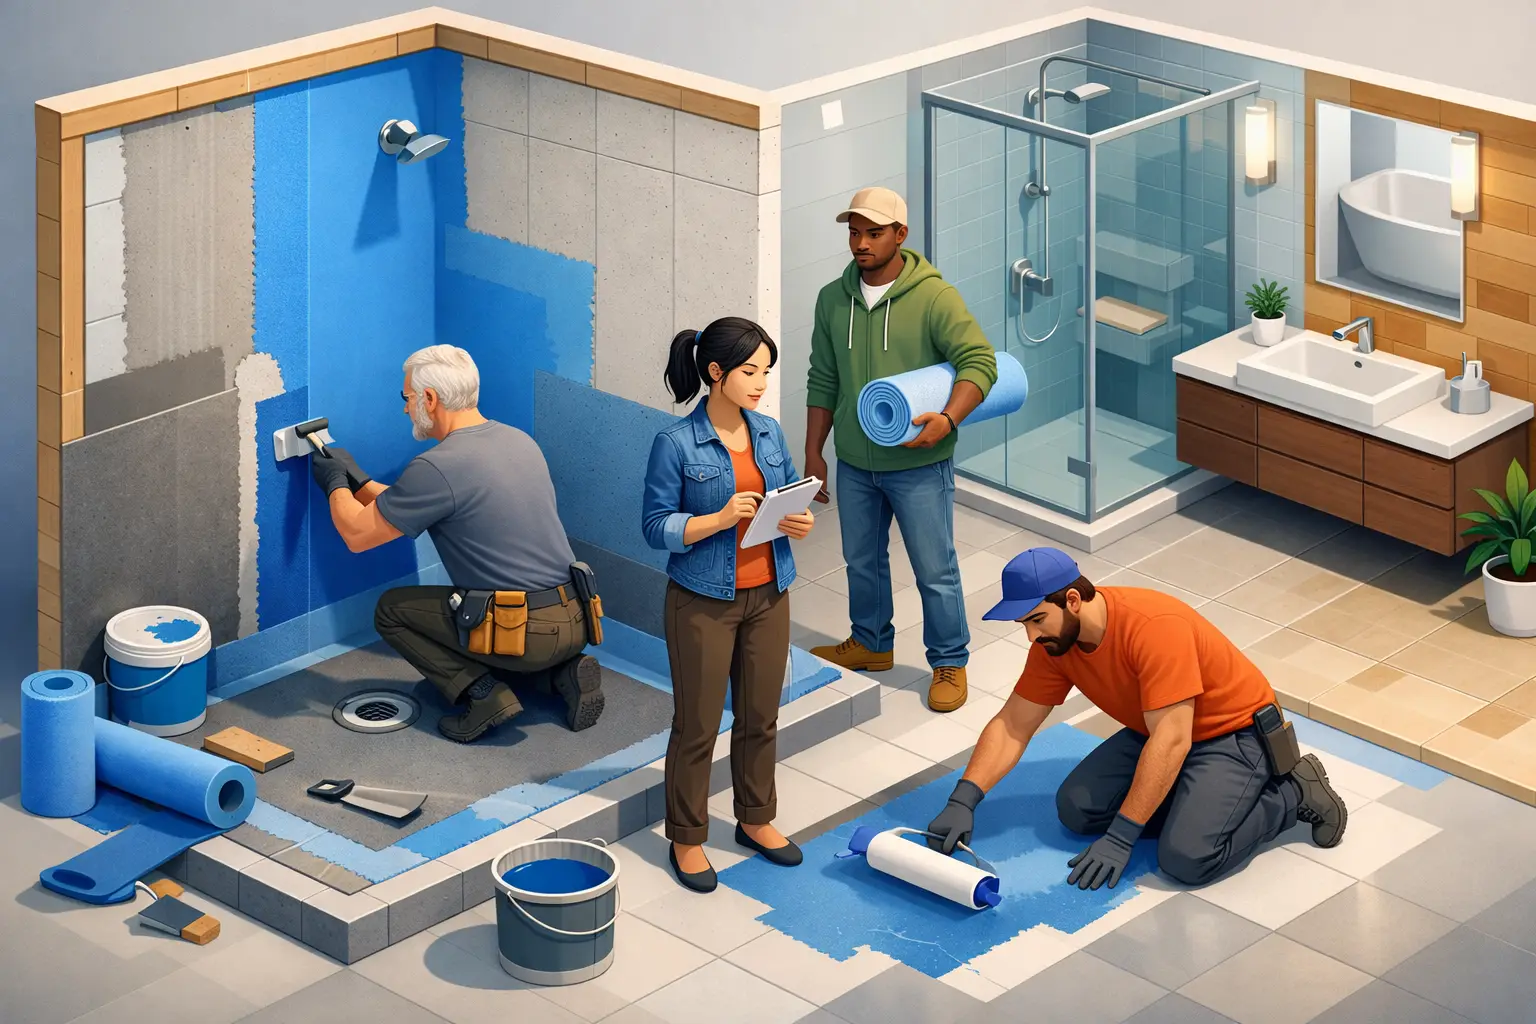
A bathroom can look finished long before it is protected. Tile, glass, and fixtures get the attention, but the work that determines whether the room lasts happens behind the walls and below the floor. This bathroom waterproofing system guide explains the decisions that prevent hidden moisture damage, failed tile, and expensive reconstruction after a remodel is complete.
For a full bathroom renovation, waterproofing should be treated as a managed installation phase, not a material purchased at the last minute. The right system depends on the shower design, substrate, drain assembly, existing framing, and how the room will be used. What matters most is that every component is compatible, correctly sequenced, and inspected before tile covers the work.
What a Bathroom Waterproofing System Actually Does
Waterproofing is not the same as tile, grout, caulk, or water-resistant drywall. Tile and grout are finish materials. They can slow water, but they are not a dependable barrier against moisture moving into the wall cavity or subfloor. Caulk is a maintenance joint, not the primary defense against a leak.
A bathroom waterproofing system creates a continuous water-management layer in high-exposure areas. In a shower, that layer must connect the walls, floor, curb or entry, drain, corners, penetrations, and transitions. If one of those connections is incomplete, water can find its way behind the finished surface.
The system also needs to direct water properly. A shower floor should slope consistently toward the drain, and the drain flange or bonding surface must integrate with the selected membrane. A membrane installed beautifully on the walls cannot compensate for a floor that holds water or a drain connection that was never designed for that membrane.
Start With the Wet Areas, Not the Tile Selection
Not every bathroom surface needs the same level of protection. A disciplined plan identifies wet zones before framing closes or materials are ordered. Shower walls and shower floors require full waterproofing. Tub surrounds, steam showers, and curbless showers need special attention because water exposure and transitions are more demanding.
The bathroom floor outside the shower is more situational. In many remodels, protecting the floor around a tub, toilet, vanity, and shower entry is a smart risk-control measure, particularly in upper-level bathrooms or homes with wood framing. It is not always required to waterproof every square foot of the room, but the decision should reflect the layout, expected use, and consequences of a leak.
A walk-in or curbless shower deserves early planning. The floor recess, drain location, slope, door configuration, and waterproofing transitions all affect one another. Trying to solve those details after the subfloor and walls are already built often creates avoidable compromises.
Choose One Compatible System
Most professional installations use either a sheet membrane system, a liquid-applied membrane system, or a combination approved by the manufacturer. Both approaches can perform well when installed correctly. The risk appears when products from different systems are mixed without confirming compatibility.
Sheet Membranes
Sheet membranes are installed in overlapping sections with sealed seams, corners, and penetrations. They provide a consistent membrane thickness and can be tiled once the seams are completed according to the system requirements. They are especially useful where predictable thickness and detailed connections around curbs, niches, and drains are priorities.
Their trade-off is installation precision. Seams require proper overlap or banding, adhesive coverage must be complete, and folds or trapped air can create weak points. The installer also needs to manage layout carefully so seams and corners remain accessible.
Liquid-Applied Membranes
Liquid membranes are rolled, brushed, or troweled onto approved substrates. They are practical for irregular layouts and can simplify coverage around corners, plumbing penetrations, and complex wall shapes. Many systems use reinforcing fabric at changes of plane and other vulnerable details.
The key control point is thickness. A coating that looks covered may still be too thin to meet the manufacturer’s required dry-film thickness. Multiple coats, proper drying time, and verification of coverage are part of the work. Rushing this stage to keep a tile schedule moving can create a failure that remains hidden for years.
Preformed Pans and Integrated Components
Preformed shower pans, curbs, benches, niches, and drain assemblies can reduce field-built variables when they are part of a coordinated system. They are not automatically better than a properly built mortar bed, but they can improve consistency and speed when the framing and dimensions are suitable.
The decision should be based on the shower design, drain position, accessibility needs, and tile format. Large-format tile, for example, may require careful planning around floor slope and drain style. A small mosaic often handles shower-floor contours more naturally.
The Details Where Bathroom Leaks Begin
Most waterproofing failures occur at transitions, not in the middle of a wall. Corners, wall-to-floor joints, curb edges, niches, bench seats, and pipe openings require deliberate treatment. These are areas where movement, water exposure, and multiple materials come together.
A shower niche needs waterproofing on the back, sides, top, bottom, and every corner. More importantly, its horizontal surfaces should be sloped slightly outward so water does not sit inside the niche. The same principle applies to benches, half walls, curbs, and window ledges within a wet area.
Plumbing penetrations also deserve attention. Shower valves, body sprays, and pipe outlets interrupt the waterproofing plane. Approved seals or carefully detailed membrane connections help maintain continuity around these openings. Cover plates should not be expected to keep water out of the wall by themselves.
At the shower entry, the waterproofing strategy must account for how water will be contained. Door placement, fixed glass panels, curb height, floor slope, and drain capacity all matter. A beautifully tiled open shower can still be a poor-performing shower if water is allowed to travel beyond the protected area.
Substrate and Framing Come First
No membrane can correct unstable framing, damaged subfloors, or unsuitable wallboard. Before waterproofing begins, the structure should be checked for flatness, sound attachment, moisture damage, and movement. Walls that are out of plumb can make tile installation difficult, while floors that flex can stress grout, tile, and waterproofed joints.
Use a substrate approved for the selected waterproofing product and installation location. Standard drywall is not appropriate inside a conventional shower unless a specific approved system permits it under defined conditions. Cement board, foam backer board, and other tile backer products each have their own installation requirements, including fastening patterns, seams, and treatment at joints.
This is also the phase to confirm blocking for grab bars, shower doors, accessories, floating vanities, and wall-mounted fixtures. Adding support before waterproofing and tile avoids later drilling into a finished wet wall without knowing what is behind it.
Protect the Schedule With a Flood Test
A shower pan flood test is one of the most valuable checkpoints in a bathroom renovation. After the shower floor and drain connection are waterproofed, the drain is temporarily plugged and the pan is filled with water to a controlled level. The water is monitored for a defined period before tile is installed.
This test can reveal a leak at the drain, curb, corner, or floor-to-wall transition while the assembly is still accessible. If a problem is found after tile, glass, and fixtures are installed, the correction may involve demolition instead of a targeted repair.
Flood testing does not replace careful installation, and it should be performed in a way that protects the plumbing system and follows the product instructions. It does, however, create a clear accountability point. A managed renovation team should document the condition of the pan before moving to tile installation.
Sequence the Work So Trades Do Not Compromise It
Bathroom waterproofing sits between several trades. Plumbing rough-ins must be located before walls are closed. Framing must support the design. Electrical work for lighting, fans, and heated floors may need to be completed before wall or floor assemblies are finalized. Tile work should begin only after the waterproofing is complete, cured, and tested as required.
Poor coordination creates common problems: a pipe moved after waterproofing, a new fastener driven through a shower wall, or a shower glass measurement taken before final tile dimensions are confirmed. These are not minor scheduling issues. They can compromise the water barrier or force last-minute design changes.
For homeowners in Scarborough and Toronto, permit requirements and inspection timing can also affect the sequence when plumbing, electrical, or structural work is involved. Clear direction early in the project keeps those requirements from becoming a disruption midway through construction.
Questions to Ask Before Tile Goes Up
Before approving tile installation, ask what waterproofing system is being used and whether the drain, membrane, corners, and accessories are designed to work together. Confirm which areas are being waterproofed, how wall and floor transitions will be handled, and whether the shower pan will be flood tested.
Ask to see the waterproofed shower before it is covered. This is not about micromanaging the crew. It is a reasonable project checkpoint, much like reviewing plumbing rough-ins before drywall. Photos of the substrate, membrane application, drain connection, and test process are useful records for the homeowner and for future maintenance.
A dependable bathroom is built through controlled steps that are easy to verify. When the waterproofing work is planned with the framing, plumbing, tile layout, and schedule, the finished bathroom has more than a polished appearance. It has the protected structure needed to perform well long after the final walkthrough.
